Monday, 31 October 2011

Photoshop Basic: Selecting Tutorial

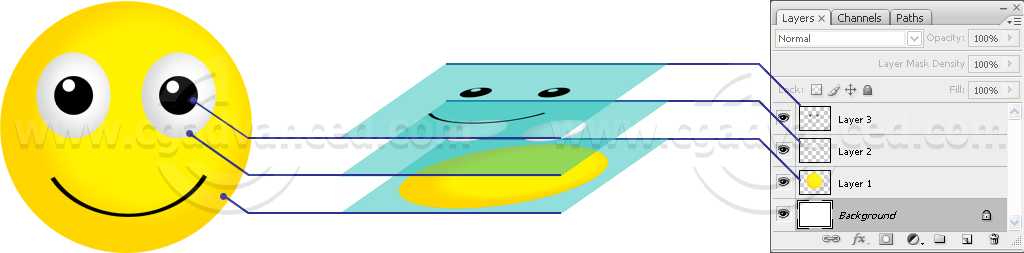
For this basic tutorial, I want to give a tutorial of making selection tools screenshoot on my last post. here is the screenshoot:


here we go.

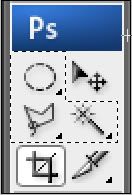
first of all, I captured the toolbox with printscreen button on my keyboard. I paste it on photoshop [in the new blank paper], then I crop it with Crop tool [find it on toolbox].


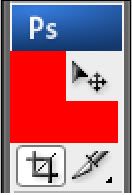
now, I want to highlight the selection tools just like above. here are the step:

1. simply select it with rentagular marquee tool. You can add the selection twice or more. just press the shift button when selecting again.

2. create a new layer [on the right bottom of your screen], then select the paint bucket tool .
fill the color inside the selection. you can simply pick the color on the right side of your screen. here is the result:

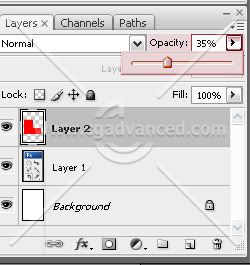
3.  I will make it transparent. you can adjust the opacity by dragging the opacity meter on the right bottom of your screen [on a box where you create your new layer].

4. just save it as .jpeg format. just go to file - save as.. and then change the Format to JPEG.

simple isn't it? hope it will useful =)

Photoshop Basic: Introducing Important Elements

Now I start my blog with a basic tutorial for Photoshop. I used Adobe Photoshop CS 4 as a tutorial media. in this introduction, I will just show you some basic functions along with their names. Hope it will useful for you =)

1. new file

Just like the ordinary software, we must create a new file to begin using photoshop. the picture below shows the standard 'new file' setting in photoshop CS4.

Note: you can change the preset to get more option of the paper size.

2. layer

photoshop is a layer-based software. you will find it very helpful when starting to create your artworks. we can simply edit our object without disturbing the other object in different layer.
this is the simple illustration:


3. brush

brush is very useful here, just like paint or another similiar software. the different is in photoshop, we can customize our brush freely, with many presets, and customization.
for the further tutorials about the brush, I will write it in separated post. =)


4. image adjustment


you can find it on image - adjustment. there are many options right?
what the function? of course it's for adjust the light, contrast, and color balance. these are the main functions on it. further tips and tutorials? just always follow my blog =D
here is just an illustration:
credit to: Roughcollie at dreamstime.com for the basic image


5. area selector


find it on toolbox [on the left side on your screen].

these three tools and their variations is very useful to edit your spesific part of your object.
for simple selecting tutorial, you can see the example here.

About Me

I love illustrating and making a cartoon. it’s not my primary profession but I believe I will doing my best for all of my work. =)
Please contact me if you need to convert a non-human being or inanimate object to become a living humanic character. I’m great on it =)
here is my contact info:
  • Name: Rizqi
  • Location: Surakarta, Indonesia
  • E-mail: maxportnoy24@gmail.com
  • Contact Number: +6281548520002
See My Contribution At: